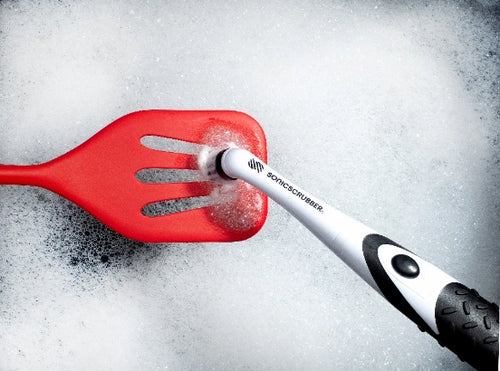
The SonicScrubber guide to a clean set of wheels
If you own a modern car the chances are it will have a set of alloy wheels. Over the last 15 years most cars have come with a set of alloys as standard and the trend has been for those wheels to sport lower profile tyres on larger and larger rims.
Whilst they look great when they’re clean, the gaps and grooves of modern alloy wheels are a magnet for brake dust, typically a dark brown or black powder that builds up across the surface of your wheels, making them appear dull and grubby.
Of course, your wheels are also where your car meets the road, which the’re regularly doused in salty water, mud, dust, grime and whatever lurks at the bottom of enormous potholes.
Luckily, with the right products and tools, cleaning alloy wheels is an inexpensive and straightforward job, providing you follow a few simple tips.
So, how to clean car wheels?
What do you need to clean your wheels?
As a bare minimum a sponge, a bucket, access to plenty of water, a suitable detergent and a brush that won’t scratch your wheels. However, brake dust has a tendency to clog sponges and cloths with hard to remove grime quite quickly. So we’d recommend investing in some car cleaning kit.
Our ideal wheel washing ensemble is a SonicScrubber Vehicle System tool set, a bucket, a pressure washer, and some microfibre cloths.
We’d also recommend you invest in a specialist alloy wheel cleaning product, as some detergents can strip protective coatings from your wheels and you definitely shouldn’t use any abrasive cleaners that could scratch them.
We’ve seen people suggest using WD40, toothpaste or vinegar. WD40 is just likely to make your wheels sticky and attract more dirt. Vinegar is acidic and can damage wheel coatings and whilst toothpaste can be helpful for removing light scratches it is also abrasive, so we don’t recommend it as a general wheel cleaner.
Step 1: Remove loose dirt
Ideally you will want to make sure your car wheels are cool before you wash them, sometimes they can heat up after a longer trip and even short journeys can make brake discs and callipers hot.
Start by removing all the dirt that will wash off easily.
A pressure washer is a great way to quickly blast away loose brake dust, salty deposits and general muck.
You could also use a standard hose or a bucket and sponge, sloshing the wheels with water from the bucket to wash away dust, rather than just spreading it.
If you are washing your whole car it’s a good idea to do the bodywork before the wheels.
Don’t forget to wash your tyres at this stage too, before you concentrate on the rims.
Step 2: Put on some gloves
You’re about to get hands on with your wheels. But detergents and brake dust can both irritate your skin and irritating grime can easily get under your nails. It’s also too easy to absentmindedly rub your eyes when you still have gritty deposits on your fingers from cleaning your alloys.
So, put on some waterproof gloves, washing-up ones are perfect for the job, just don’t use them for doing the dishes afterwards.
A top tip is to put on some hand cream before you put the gloves on, your skin will thank you.
Step 3: Apply your alloy wheel cleaning product
Read the instructions on the alloy wheel cleaner you’ve chosen and follow the recommendations on the pack.
Specialist wheel cleaning products are designed to deep clean your wheels, penetrating into narrow gaps. But they won’t damage the lacquer, paint or protective coatings on your alloy wheels. This not only ensures your wheels look good immediately after you’ve cleaned them, but helps to keep out salty water and oily chemicals picked up from the roads, which can cause your wheels to discolour over time.
The ingredients they use won't damage your tyres and are safe to wash away once you’ve finished the job.
Our favourite wheel cleaners spray on, before you leave them for the recommended length of time to do their work, typically a few minutes. Some modern products change colour to show you how much dirt is being lifted and when it's time for a rinse.
Step 4: Rinse your wheels
Once your wheel cleaner has worked its magic, you’ll need to rinse it away. A pressure washer or hose is perfect for the first rinse, or you can give them a slosh of water from a bucket or bowl.
We recommend then going round your wheels with a bucket of water and sponge, to remove any residual loose dirt, then giving the wheels another blast of pressure washer, splash of hose or slosh with the bucket. This will also help remove any residual cleaning product or contaminants.
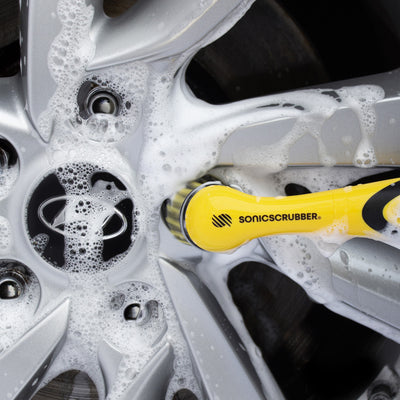
Or save yourself some elbow grease and use the SonicScrubber Vehicle System, with the largest brush attachment. Don’t worry, the tool is water resistant and quite happy to get splashed with water.
Don't forget to keep your gloves on!
Step 5: Use a SonicScrubber
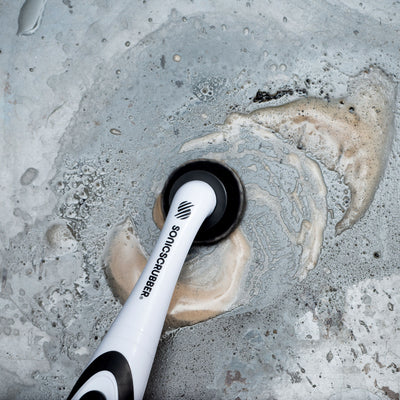
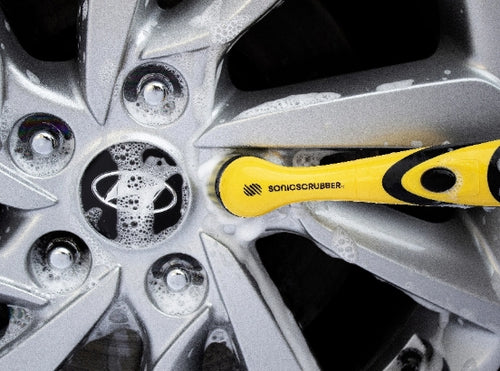
Modern alloy wheels frequently have lots of gaps and grooves, where black grime and brake dust gather. Even a pressure washer can struggle to shift dirt from these tricky to clean areas. This is where your SonicScrubber comes in.
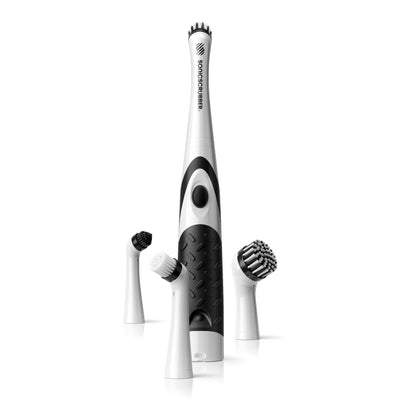
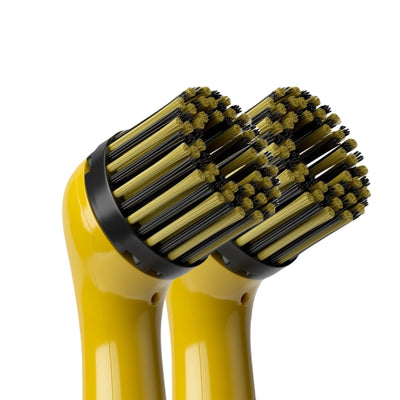
The SonicScrubber Vehicle System comes with four brush head attachments.
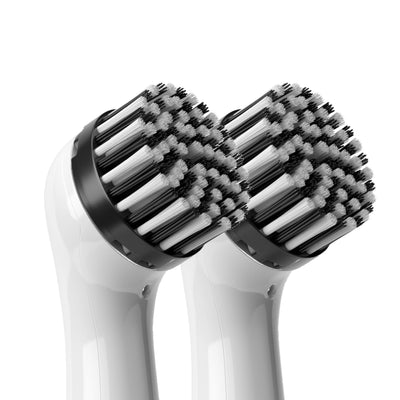
The large lug-nut brush can help to clean larger surface areas of your wheel, and has shorter bristles in the centre, perfect for cleaning wheel nuts and the gap around them.
The medium brush is a great all rounder for wheel cleaning.
Meanwhile the cone brush is pointed, to get into edges and grooves.
The soft brush works well on any polished badges or trim needing a lighter touch.
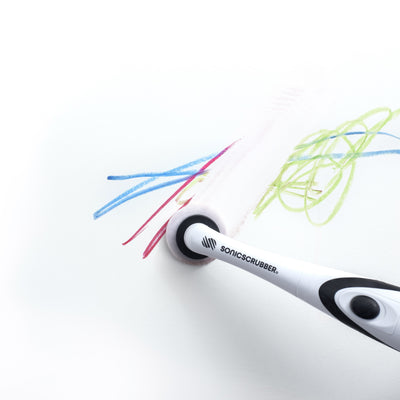
With a water resistant motor, powering your brush heads through 10,000 oscillations a minute, SonicScrubber lifts and shifts dirt faster than manual cleaning, getting into all those tricky in-between areas.
The bristles are safe for using on wheels, clog resistant and can be washed and reused. You can even buy replacement heads if you need to.

Step 6: Rinse and wipe
Once the SonicScrubber has worked its magic, we recommend another rinse of the wheels and a rub down with a damp microfibre cloth. If the SonicScrubber has loosened a lot of brake dust you might want to have a few cloths handy, or a bucket of water that you can rinse and wring them in.
Step 7: Apply some wheel protector
Once you’re happy that your wheels are clean it’s a good idea to apply some wheel protector. There are a variety of products on the market, including wheel wax, gels and sprays. We generally prefer to use wheel wax. It adds a protective layer that helps prevent brake dust build-up and prevent salty water penetrating your alloy wheels. Some brands include a corrosion resistant polymer in their formula too.
Wear gloves and follow the instructions on your chosen product.
Step 8: Shine your tyres
Finishing with a tyre shine, gel or dressing is a great way to complete the job, if you want to show the world a clean set of wheels. Over time, tyres can go brown and tyre dressings are a great way to revive their deep black appearance. Again there are a variety of different products on the market, from wet look to satin-effect finishes. It’s really a case of personal preference.
If you are detailing the car, using a SonicScrubber with the cone brush attachment is a great way to clean tyre treads too. Wash the brush heads and they’re also perfect for car interiors.
What is the SonicScrubber Pro Detailer?
We used to sell a product called the SonicScrubber Pro Detailer. It’s simply the old name for the SonicScrubber Vehicle System. Don’t forget, original SonicScrubber brush heads are interchangeable across all our systems, so you can still buy our latest range of car detailing brush heads and they’ll still fit your old pro-detailer. Or you buy some car cleaning heads and attach them to another SonicScrubber system, it's up to you!
You can buy the SonicScrubber Vehicle System, accessories and replacement brush heads here on our official website. We also sell them on Amazon, eBay and at other great retailers.
But don’t forget, only genuine SonicScrubber products carry the SonicScrubber brand.
