


How to Clean Hiking Boots
Welcome to the SonicScrubber guide to cleaning your favourite walking or hiking boots.
Hiking boots are an essential piece of gear for outdoor enthusiasts, providing comfort and support on rugged terrain. However, after a long trek through muddy trails, they can become caked with dirt and grime.
Properly cleaning your hiking boots is crucial for maintaining their durability, breathability, and overall performance. However cleaning them with a traditional boot brush can be a slow, messy and tiring task, particularly after a long hike.
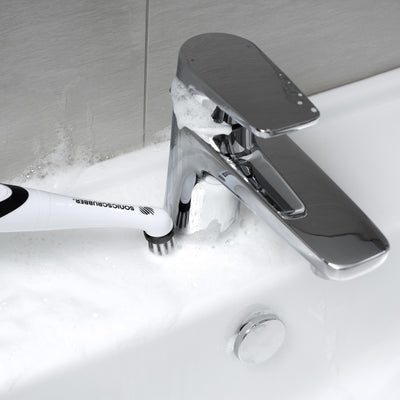
Time spent in the boot room is time stolen from your day outside. Which is why we developed the SonicScrubber Footwear System. It speeds through boot cleaning chores, so you can enjoy more time outdoors.
You can use the SonicScrubber for quickly turning around muddy boots between hikes. Making it the ideal tool to take with you on a walking holiday. But every few months it's worth giving your boots a proper clean, polish and waterproofing.
Our latest SonicScrubber guide guide breaks it down:
Step 1: Gather Your Cleaning Supplies
Before beginning the cleaning process, gather the necessary supplies:
First you'll need a set of brushes. You could use a soft brush, such as an old toothbrush, along with some stiffer boot brushes, but old toothbrushes tend to spread dirts rather than lifting it, the brushes splay quickly and they soon clog up.
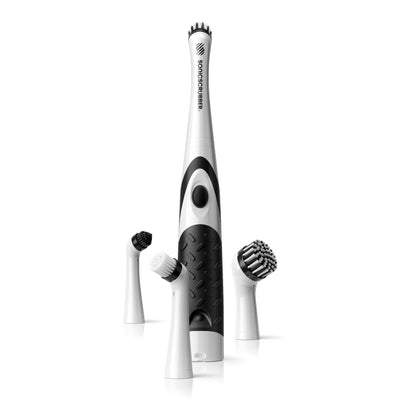
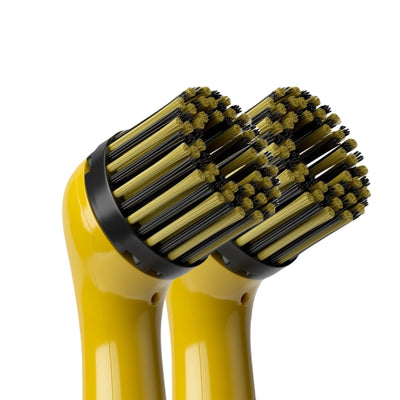
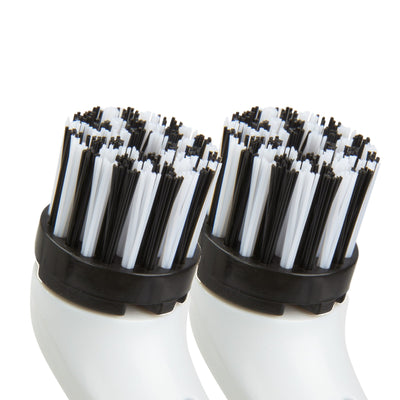
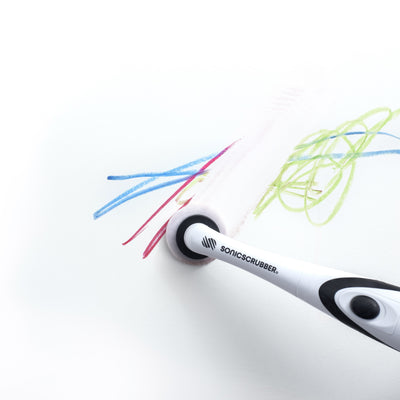
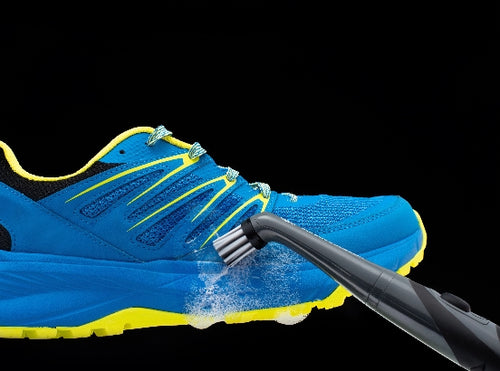
Which is why we recommend investing in a SonicScrubber Footwear System. It has a water resistant power unit that powers brush heads designed for cleaning outdoor shoes. In the pack are an all-purpose medium shoe brush, a large brush for uppers and soles, a softer long bristle brush for more delicate fabrics like nubuck and Gore-Tex (TM) and a cone brush for getting into edges, gaps, grooves, eyelets and seams. You'll notice that the brush heads with our Footwear System are slightly different from those which come with our Household System, popularised by influencers like Mrs. Hinch, they're designed specifically for shoes.
SonicScrubber is a powered tool, so you'll save yourself some elbow grease compared to manual brushes. The oscillating action is designed to lift muck rather than just spin it in circles.
Along with your brushes, you'll also need:
- A bucket of lukewarm water
- Mild soap or specialized boot cleaner
- A sponge or cloth
- Newspaper or paper towels
- Waterproofing treatment (if applicable)
Step 2: Remove Excess Mud and Debris
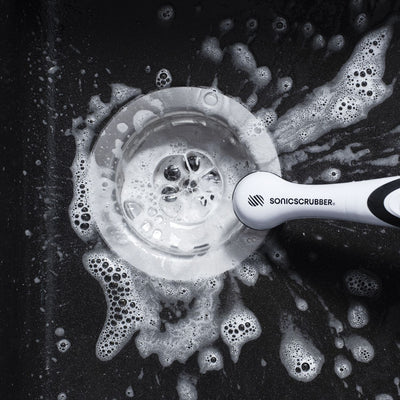
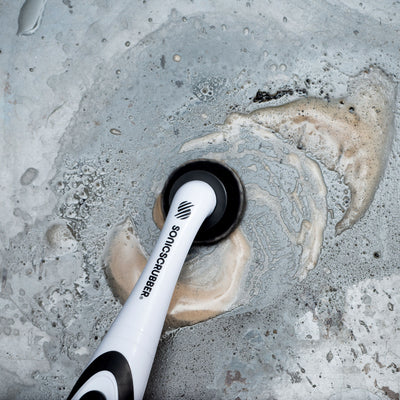
Start by knocking your boots together outside or against a hard surface to remove loose dirt and dried mud. Use a dry brush to scrub off any remaining debris, paying special attention to the soles and crevices where mud can accumulate. Better still use your SonicScrubber, it comes with four brush heads, to remove mud from both large surfaced hard-to-reach areas faster. SonicScrubber brush heads also easily rinse clean, under the tap, when you're done.
Step 3: Take Out the Laces and Insoles
Remove the laces and insoles from your boots. This allows for a more thorough cleaning, ensuring that no dirt is left trapped in hard-to-reach areas. Wash the laces separately with mild soap and water and set them aside to dry. If your insoles are particularly dirty or have absorbed moisture, consider washing them and allowing them to air dry completely before reinserting them.
Step 4: Wash the Boots
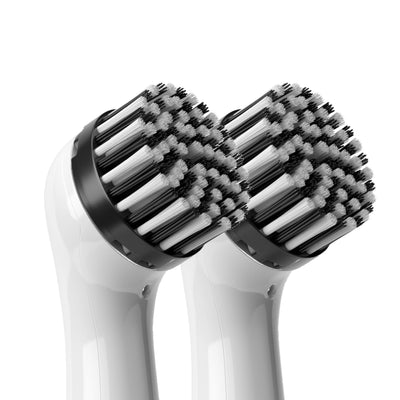
Using a damp sponge or cloth, wipe down the exterior of the boots. If they are extremely dirty, use a mild soap or specialised boot cleaner, along with your SonicScrubber, to scrub away stubborn stains. Avoid submerging the boots in water, as excessive moisture can damage the materials, particularly if your boots are made of leather. Instead, use a gentle scrubbing motion to clean the fabric, don't push too hard, being careful not to oversaturate the material. The longer bristle soft brush that comes with SonicScrubber Footwear system is great for more sensitive fabrics needing less abrasive bristles.
Step 5: Clean the Soles
Mud and small rocks often get stuck in the treads of hiking boots. Use pointed tool to remove any small sones, be careful to push them away from you, so they don't accidentally flick up into your face or eyes. Scrub the outsoles, we'd recommend our medium brush for this, making sure to remove any stubborn dirt lodged in the grooves. Our cone brush is ideal for getting into the joins and seams between your soles and uppers. Rinse the soles with water to ensure they are free of debris.
Step 6: Rinse and Dry
Once the boots are clean, rinse them and use a damp cloth to wipe away any soap residue. Stuff the inside of each boot with newspaper or paper towels to help absorb moisture and maintain the shape of the boots as they dry. Avoid placing the boots near direct heat sources, such as radiators, fireplaces, or direct sunlight, as excessive heat can damage the materials and cause cracking. Instead, let them air dry in a well-ventilated area.
Step 7: Apply Waterproofing Treatment (If Needed)
Once your boots are completely dry, consider applying a waterproofing treatment to maintain their water resistance. Read the manufacturer's instructions in case there is specific treatment product you need to use, if you don't have them anymore then do a quick check online.
Depending on whether your boots are made of a technical waterproofing material, synthetic fabric or leather, different treatments will be required. Sprays, creams, and waxes are all available. Make sure you purchase the correct product before starting the treatment on your boots.
Cost and convenience can be a key factors when choosing and applying waterproofing for hiking boots. Leather boots can benefit from applying a good quality leather polish, followed by a coat of dubbin wax. For synthetic boots, a waterproofing spray can be quickly applied without much hassle.
For specialist materials, such as Gore Tex (TM) SympaTex (TM) and eVent, which are often found on higher end walking boots, it's worth investing in a specialist waterproofer such as those found in the Nikwax and Granger's product ranges. Research the right product for your boots online.
Step 8: Reassemble and Store
After your boots are fully dry and treated, reinsert the insoles and thread the laces back through the eyelets. Store your hiking boots in a cool, dry place, away from direct sunlight and moisture.
By following these steps, you can keep your hiking boots in excellent condition, ensuring they last for many adventures to come.
Regular cleaning and maintenance will not only extend their lifespan but also enhance your hiking experience by keeping your feet comfortable and protected on the trails.
The SonicScrubber Range
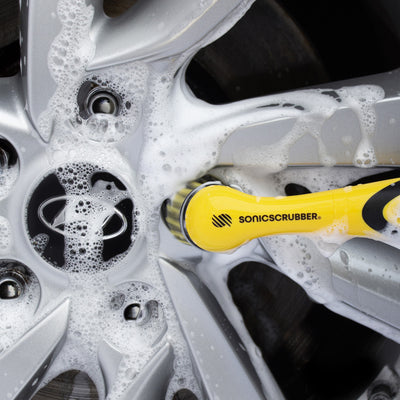
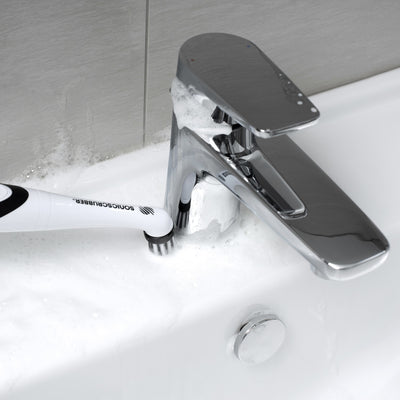
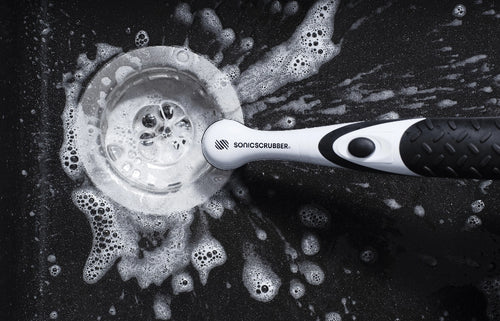
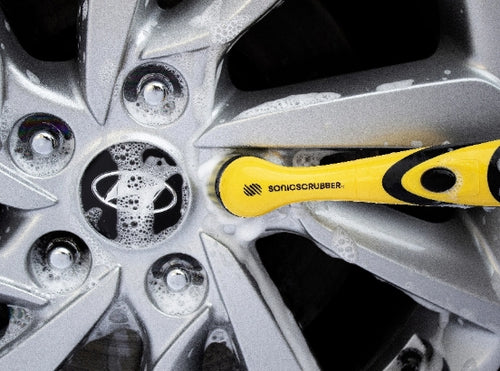
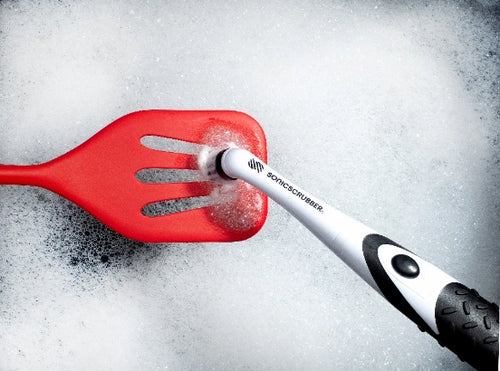
The SonicScrubber Footwear System is part of a range of official SonicScrubber products, all designed to help you speed through chores, for more time that's yours.
From cleaning kitchens and bathrooms to boots, bikes and cars, check out the SonicScrubber range here on our website.
GORE-TEX is a trademark of W. L. Gore & Associates, Inc
